This post may contain affiliate links. The Review Wire may collect a share of sales if you decide to shop from them. Please see my full disclosure policy for details.
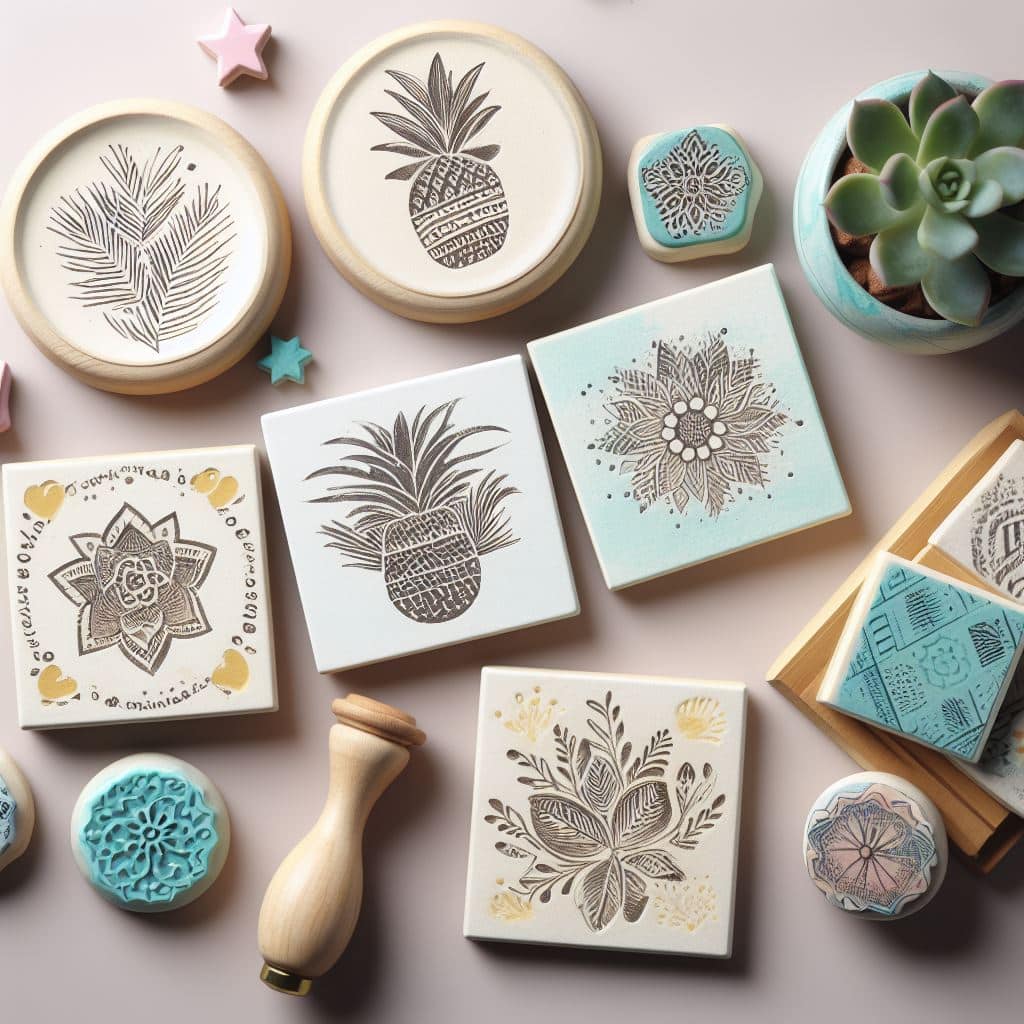
Want to make customizable coasters that showcase your unique style? By using ceramic tiles, stamps, and just a few simple materials, you can easily create unique stamped DIY coasters. Follow this guide to make these fun and functional coasters in just a few easy steps.
Related: DIY Crafts

DIY COASTERS
Gather Your Supplies
To make stamped tile coasters, you’ll need:
- Ceramic tiles – 4-inch square tiles work best
- Stamping supplies – rubber stamps, acrylic block, ink pads
- Pencil and ruler
- Mod Podge
- Paintbrush
- Scissors
- Sandpaper
- Paper towels
Before starting, gather all the supplies you’ll need. Craft stores offer the best tiles, stamps, inks, stencils, and decoupage glue.
Prepare the Tiles
Select smooth, blank ceramic tiles in white or light colors for easy stamping. Clean the tiles of any dirt or dust.
Lightly sand the tiles with fine-grit sandpaper. This helps the ink adhere better to the smooth ceramic surface.
Use a pencil to sketch any designs you want to stamp. This guides placement but will disappear.
Stamp the Tile Designs
Ink up your stamps on an acrylic block. Press them firmly straight down on the tiles and lift them straight up to avoid smudging.
Allow ink to dry for 1-2 minutes between stamping. Switch up colors and layer or rotate stamps for unique effects.
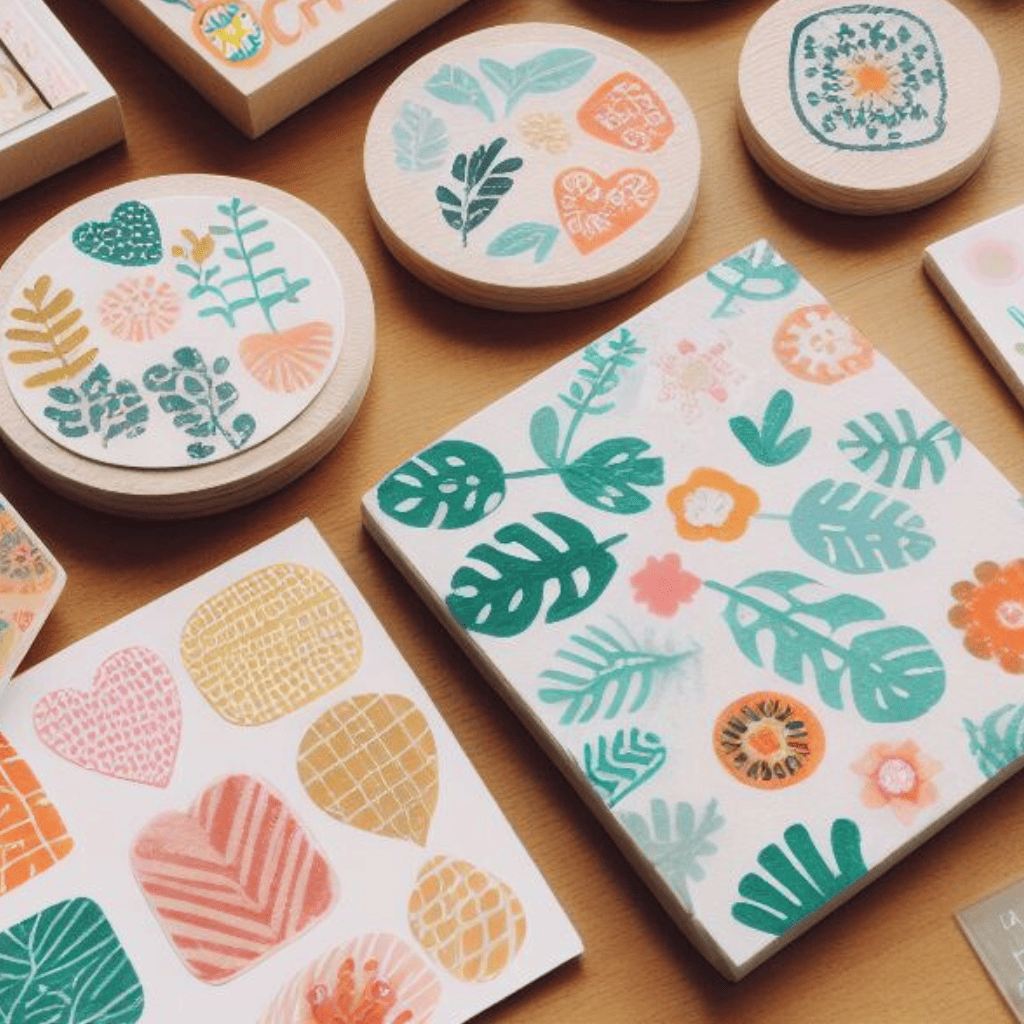
Combine stamping with paint details, vinyl cutouts, or stenciling to customize the coasters further—mix and match techniques for endless options.
Seal and Finish the Coasters
Once stamped, seal the tiles with Mod Podge. Use a brush to apply a coat and smooth drips.
Let dry for 30 minutes. Do a second Mod Podge layer to seal the designs. Allow to dry 1 hour before use.
For extra protection, spray with an acrylic sealer after the decoupage dries. This prevents moisture damage if drinks spill.
Use and Enjoy Your Stamped Coasters
Now, enjoy your fabulous handmade coasters! Here are tips:
- Display on coffee tables, side tables, and desks to prevent mug rings.
- Give as gifts matched to the recipient’s interests or personality.
- Create themed coasters for holidays, birthdays, and parties.
- Make sweet stamped coasters for a kids’ room.
- Coordinate colors and patterns for home decor.
The tile material and sealants provide superior protection compared to paper coasters. Custom stamping lets you match any style.

Other Materials
While stamps work great for stamped coasters, you can make DIY coasters using materials like vinyl letters, printable photo transfers, patterned scrapbook paper, or washi tape. Laminate or seal paper coasters with Mod Podge for durability. The options are endless when you get creative with different shapes, sizes, materials, and embellishments!
Coaster Ideas
These creative DIY coasters also make fantastic gifts for any occasion or person. Make a set stamped with wedding or bridal shower motifs for a bride-to-be. Create coasters with wine grapes and motifs for a wine-loving friend. Design them with fun birthday patterns or colors for a boy or girl. Craft holiday-themed coasters stamped with trees, snowflakes, or poinsettias for Christmas gifts.
The options are endless when you customize them with meaningful stamps for the recipient. They are sure to love these handmade and heartfelt coasters!
With limitless stamp designs and colors, the options are endless.

I love projects the kids can make with me to give as gifts too these are so nice .
I like new DIY projects. This one would be fun to make.